
The irritating ping of a dripping shower head is a sound most Hamilton homeowners are all too familiar with. It’s wasteful, it’s frustrating, and it’s a common plumbing problem that doesn’t always require an expensive service call.
In this comprehensive guide, we’re going to walk you through everything you need to know about identifying, addressing, and preventing a leaky shower head. By the end, you’ll be equipped with the knowledge to tackle this household annoyance head-on and restore your shower to its tranquil, non-leaky state.
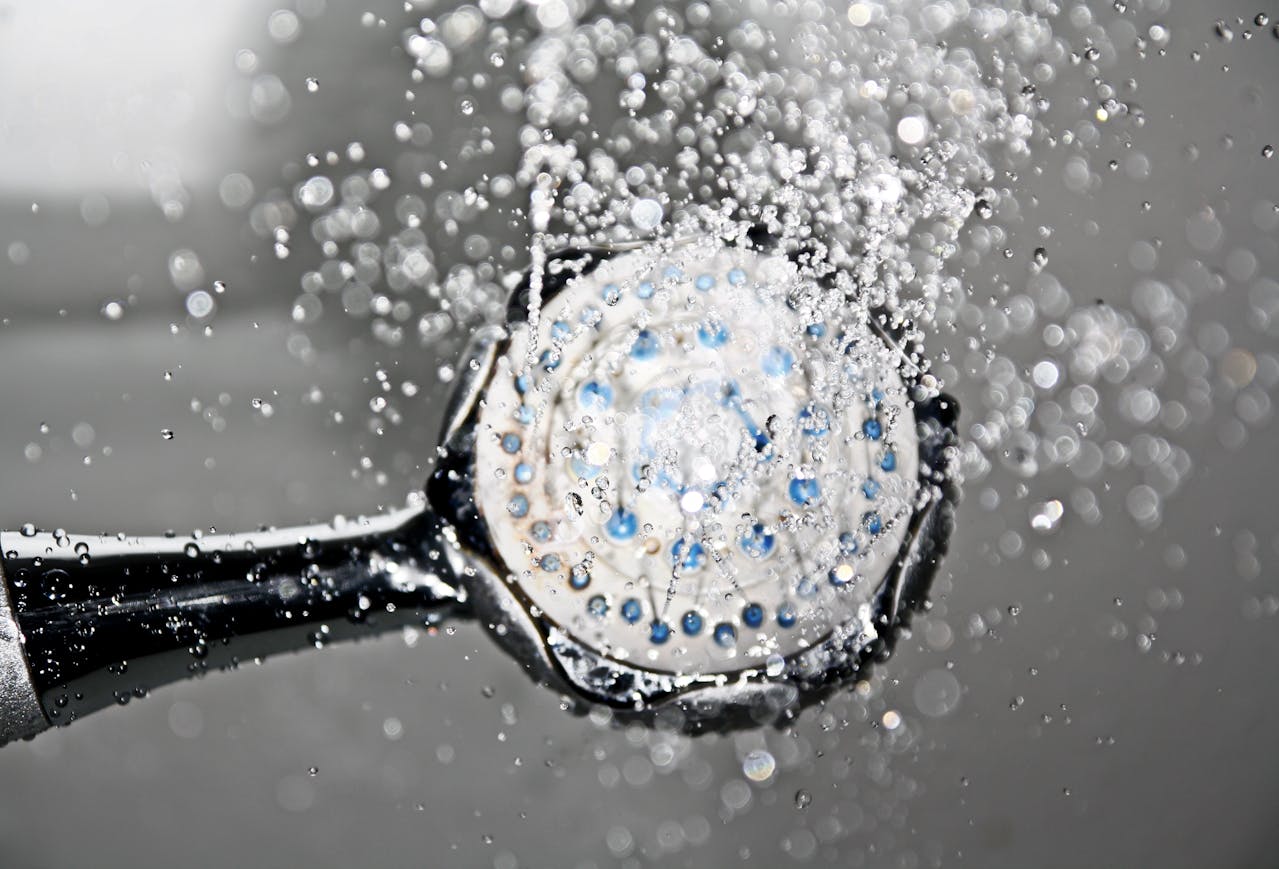
Understanding the Leaky Shower Head
Before water droplets turn into a stream of dollars down the drain, it’s important to grasp the subtle yet telling signs that your shower head is leaky. A leak may be evident through audible drips or a constant stream of water when the faucet is off.
Additionally, you might spot mineral deposits around the shower head which can indicate internal leakage. The economic and environmental impact of unresolved leaks is substantial—wasting hundreds of gallons of water each week and hiking up utility bills.
Disassembling Your Shower Head: A DIY ApproachThe Tools You’ll Need
To get started, you’ll need a few simple tools you likely already have lying around the house:
- An adjustable wrench or pipe wrench
- A pair of slip-joint pliers
- White vinegar or a lime-removing product
- An old toothbrush or a small bristle brush
- Pipe thread seal tape (also known as Teflon tape)
Step-by-Step Guide to Fixing Your Shower Head:
- Turn Off the Water Supply: It’s crucial to cut off water to the shower before any work begins. Most showers have a dedicated shut-off valve; if not, you may have to turn off the water to the entire house.
- Dismantle the Shower Head: Use your adjustable wrench or pipe wrench to unscrew the shower head from the water pipe. Be careful not to mar the fixture with the wrench. Once removed, take out the flow restrictor and any other parts.
- Inspect and Clean: Check the shower head for damage or mineral buildup. Place the parts in a container with white vinegar or a lime-removing product to soak for a few hours. Use the toothbrush to thoroughly clean any debris or deposits.
- Replace Worn-Out Parts: If you notice any cracked or damaged washers, O-rings, or seals, it’s time for a replacement. Take these damaged parts to a hardware store to find a suitable match.
- Reassemble and Test: Once cleaned and/or replaced, put the shower head back together, applying pipe thread seal tape on the threading to prevent leaks. Use your wrench to secure the head in place, and turn on the water to test your fix. Be on the lookout for any leaks around the head. If you see water, tighten the joint a little more, but not to the point of stripping the threads.
Preventive Maintenance for Leak-Free Showers
With your shower leak remedied, it’s time to ensure this issue doesn’t rear its dripping head again. Here are some simple steps to keep your shower head in top condition:
- Regular Cleanings: A periodic cleaning will help prevent mineral buildup and corrosion, common culprits of shower head leaks.
- Using Teflon Tape: When reassembling the shower head or any plumbing fixture, use Teflon tape on the threads to create a water-tight seal.
- Professional Assessment: If you find that the leak returns frequently, or you’re just not comfortable performing repairs on this scale, it may be time to call a professional plumber.
Following these maintenance tips can help extend the lifespan of your shower head and keep leaks at bay.
The Importance of a Leak-Free Home
A leaky shower head is more than just an inconvenience; it’s a visible sign of potential issues within your home’s plumbing system. By fixing it promptly and maintaining your fixtures, you’re not only saving water and lowering your bills, but also preventing further damage to your home’s infrastructure.
Remember, a small drip today could lead to a burst pipe tomorrow. Stay vigilant, stay proactive, and enjoy the peace and efficiency of a leak-free shower. After all, in the soothing confines of your home, every drop should have a purpose—though, not in the financial sense. If you are in need of professional help, call your local Hamilton plumbers at Rescue rooter today!


