
In recent years, the world of robotics has seen significant growth in popularity. With advancements in technology and easier access to resources, more and more people are turning towards building their robots. This trend has given rise to the concept of “Do-It-Yourself” (DIY) robotics, where individuals can build their robots using readily available materials and tools.
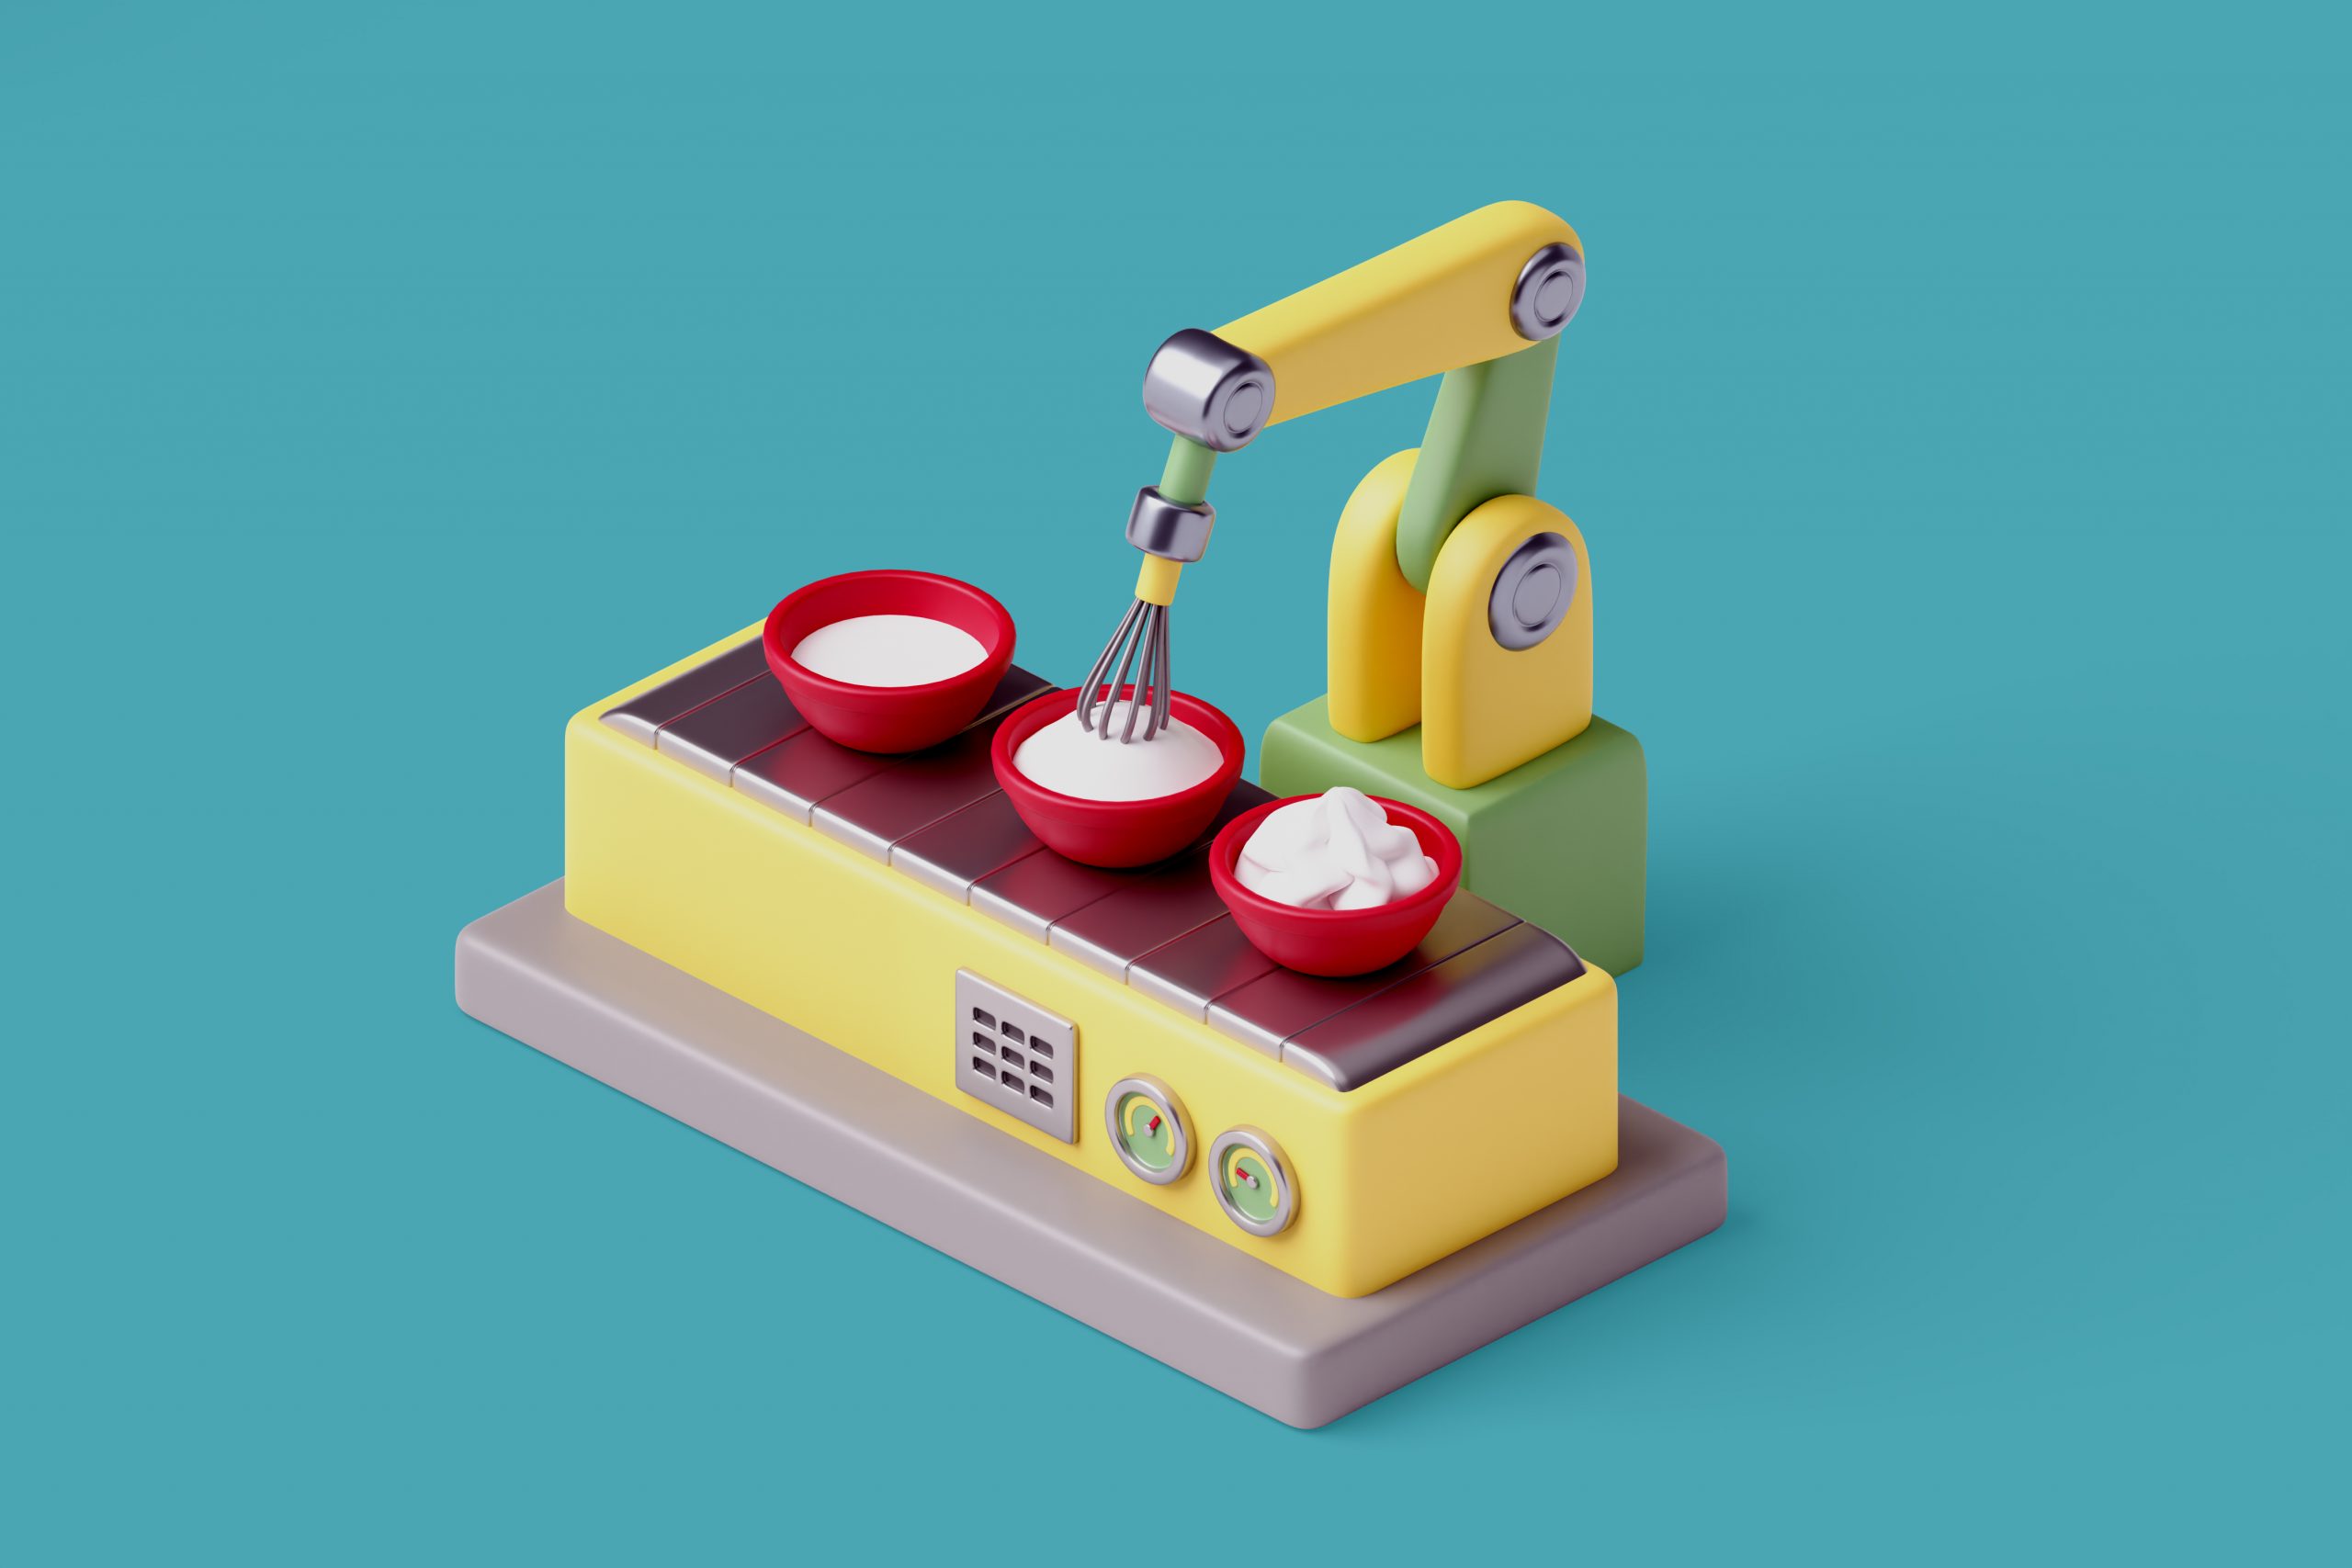
One of the most fascinating and useful applications of DIY robotics is building a personal assistant with a 3D-printed robot arm. This project combines the creativity and affordability of DIY robotics with the precision and versatility of 3D printing technology. In this article, we will delve into the details of how you can build your very own personal assistant using a 3D-printed robot arm and robotics DIY kits.
Understanding DIY Robotics
Before we dive into building our personal assistant, let’s first understand the concept of DIY robotics. As the name suggests, it involves creating robots from scratch using open-source hardware and software tools. This means that anyone with a basic knowledge of electronics and programming can build their robot without the need for expensive equipment or specialized training.
DIY robotics has gained popularity due to its accessibility and affordability. With the availability of 3D printers, microcontrollers, sensors, and other essential components at a lower cost, building robots has become easier than ever before. Additionally, open-source platforms like Arduino and Raspberry Pi have made it possible to control and program these robots without the need for complex coding.
The Power of 3D Printing
When it comes to building a personal assistant, precision and versatility are essential. This is where 3D printing comes into play. With 3D printing technology, you can create intricate designs and structures with high accuracy. You can also print different parts and components separately, allowing for easier assembly and customization.
Moreover, 3D printing allows you to use a wide range of materials, making it possible to create durable and functional robot parts. This opens up endless possibilities for designing and building your personal assistant according to your specific needs and preferences.
Building a Personal Assistant with a 3D-Printed Robot Arm
Now that we have an understanding of DIY robotics and 3D printing, let’s dive into the process of building our personal assistant. To do this, we will need a few essential components – a 3D-printed robot arm, motors, microcontroller, sensors, and servo motors.
Step 1: Designing the Robot Arm
The first step is to design your robot arm using CAD software. This will allow you to create an accurate and detailed 3D model of the arm. You can either design your arm or use pre-made designs available online. Make sure to choose a design that is compatible with the components you have chosen.
Step 2: 3D Printing the Robot Arm
Once you have finalized your design, it’s time to start printing. You will need a 3D printer and the necessary filaments for this step. Make sure to follow the instructions provided with your specific 3D printer model to ensure proper printing.
Step 3: Assembling the Robot Arm
Once all the parts are printed, it’s time to assemble your robot arm. This step may require some additional tools such as screws, glue, and pliers. Follow the instructions provided with your design or refer to online tutorials for proper assembly.
Step 4: Adding Motors and Servos
Next, we need to add motors and servos to our robot arm for movement and control. You can use DC motors or stepper motors depending on the level of precision required. Additionally, servo motors can be used for specific movements such as gripping and lifting.
Step 5: Integrating a Microcontroller
To control the movement and actions of our personal assistant, we need to integrate a microcontroller. Arduino or Raspberry Pi are popular choices for this step. These platforms use simple coding languages like C++ or Python, making it easier for beginners to get started.
Step 6: Adding Sensors
For our personal assistant to be truly useful, we need to add sensors that allow it to interact with its environment. This can include proximity sensors, touch sensors, or even voice recognition modules.
Step 7: Programming and Testing
The final step is to program and test your personal assistant. This involves writing code for the microcontroller and calibrating the sensors and motors. Once everything is working correctly, you can start giving commands to your personal assistant and see it in action.
The Benefits of Building Your Personal Assistant
Building a personal assistant with a 3D-printed robot arm offers many benefits. Firstly, it allows for customization according to individual needs and preferences. This means you can design and program your assistant to perform tasks that are specifically tailored for you.
Secondly, DIY robotics is a great way to learn new skills and gain hands-on experience in various fields such as electronics, programming, and 3D printing. It also promotes creativity and innovation by allowing individuals to come up with unique designs and ideas.
Moreover, building your assistant can be a cost-effective solution compared to buying a pre-made one. The availability of affordable 3D printers and open-source platforms makes it possible to create a functional personal assistant at a fraction of the cost.
Lastly, building your personal assistant is a rewarding and fulfilling project. Seeing your creation come to life and carry out tasks on command provides a sense of accomplishment and satisfaction that is incomparable. It allows you to witness firsthand the wonders of technology and the possibilities it holds for the future.
Conclusion
DIY robotics is an exciting field that allows individuals to unleash their creativity and build useful robots from scratch. By combining 3D printing technology with DIY robotics, we can create highly customizable and functional personal assistants. With the availability of open-source platforms and affordable components, building your assistant is now more accessible than ever before. Give it a try and see what you can create with your 3D-printed robot arm. The possibilities are endless!


